As a premier concrete fence contractor, Hilltop Concrete is proud to provide full turnkey services to all of our customers throughout the country. However, we also ship material only to a number of our clients nationwide. For those clients, we have often been asked how to install a concrete fence system. Those same clients are also pleased to find out how easy DIY installation can be. Below are the steps are taken to install any of our precast concrete fence systems.
Before installation can begin, the project specifications must be determined and finalized. This includes determining the total linear feet needed, the height of desired fence, the type of product to be used, and finalizing color choices. Rest assured that our team will be available to guide you through this critical step and get your order processed and shipped to your site.
Next, the site must be prepped. Before any work is performed, you should always call the appropriate authorities to locate any potential underground utilities that may interfere with the fence line. Additionally, all trees and/or underbrush should be cleared from the fence line and the final grade should be established. The fence line should then be laid out and staked as a guideline. Once these preliminary steps are completed you are ready to begin installation!
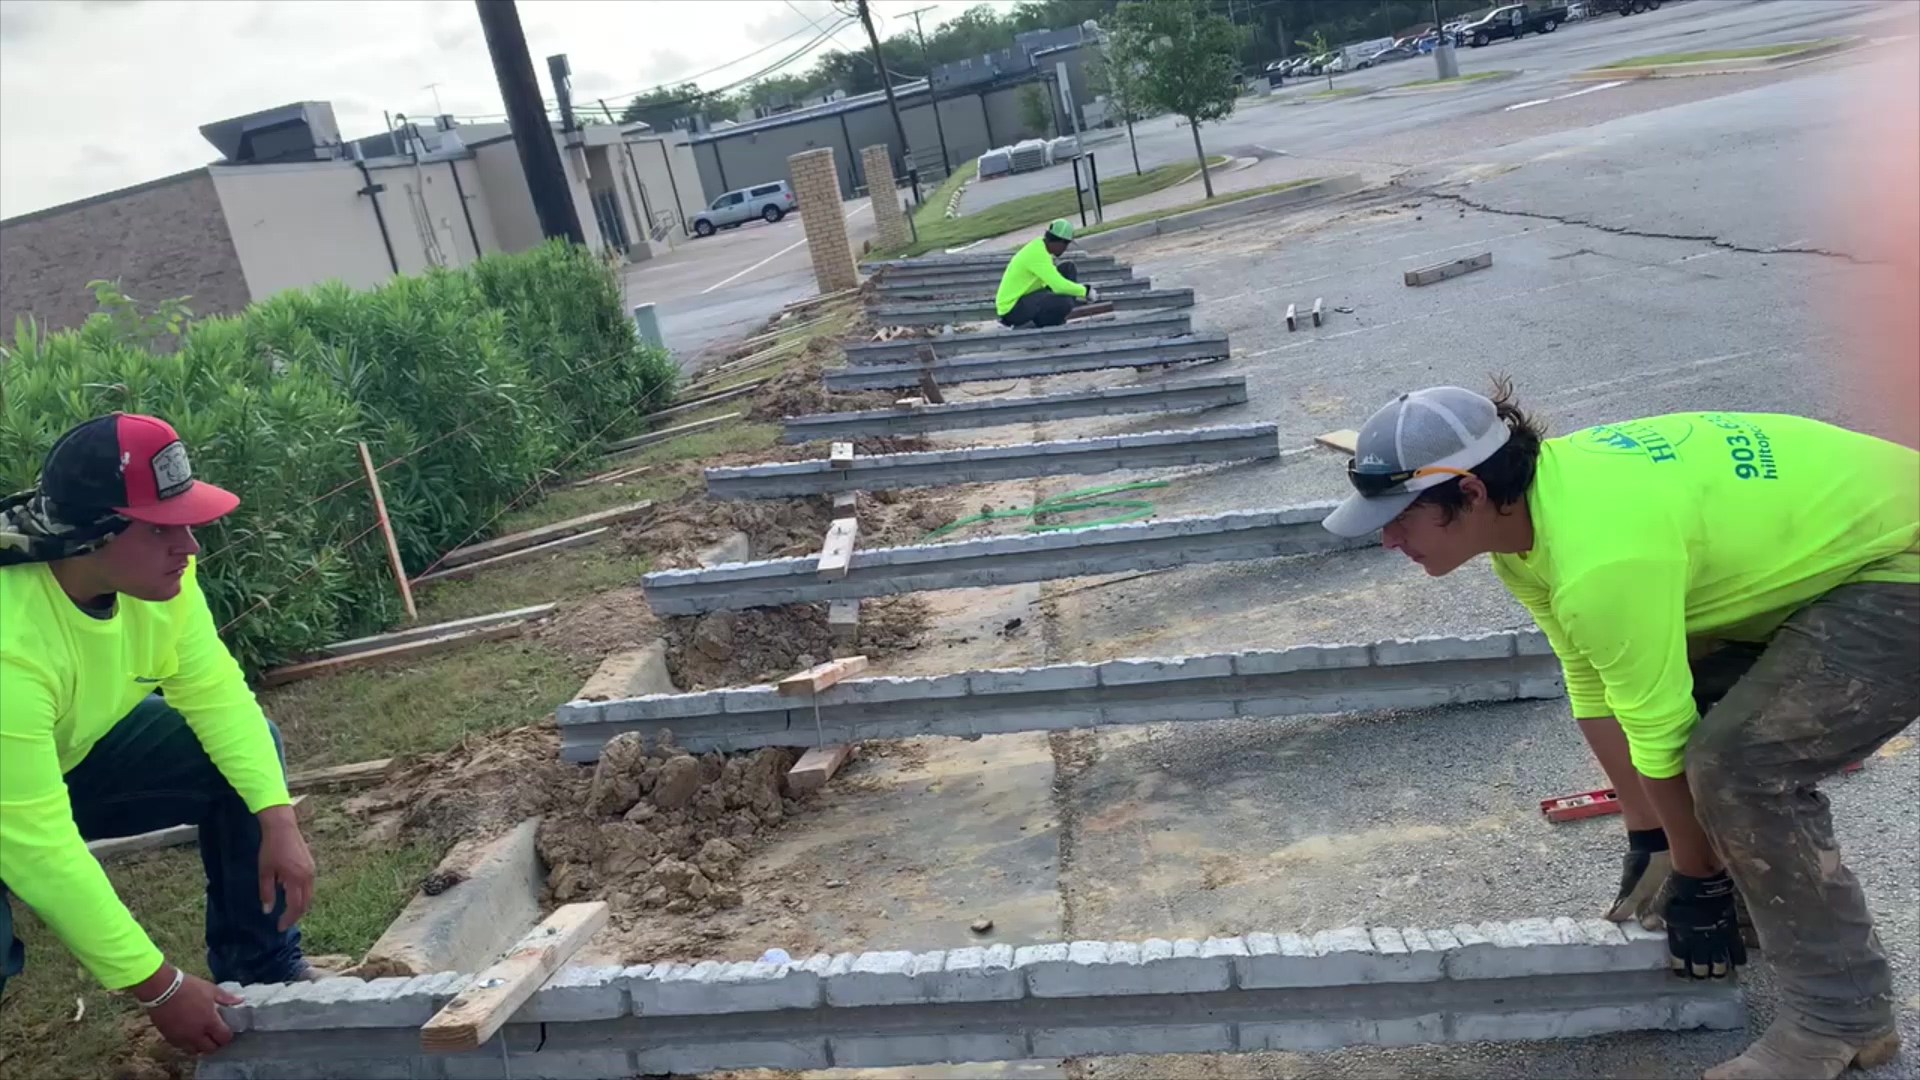
The most crucial component of a concrete fence is the footing. All footings are to be set at a maximum of 5’ on center for StackedStone, OldBrick, ChiselStone, and WoodCast, or 8’ on center for RanchRail systems. The holes should be drilled to an approximate depth of 66”, however, each project is different and the footing size may need to be adjusted based on soil conditions. Once the footings are drilled, each post is to be accurately set in each hole and secured in place using a form clamp. Each post should be carefully set to grade to ensure the final height of the fence is correct. Each hole is then filled with concrete.
Once the footings have cured the concrete fence panels can then be installed. The lower panel should be slid into place and should be supported by a concrete pier, existing grade, or outdoor PVC spacer that is embedded in the footing. The gap between the lower panel and the top base of the material grade should be a minimum of 2” and a maximum of 4”. Once the lower panel is in place, each remaining concrete fence panel will slide into place. After the top panel is installed, the panel cap is secured on top and the section should be checked to ensure it is level. Repeat these installation steps for all remaining fence sections until the fence is fully constructed.
Whether you decide to install yourself or have Hilltop Concrete perform installation, our dedicated team is available to answer all of your questions. If you would like more information regarding our products or product installation, reach out to us today via email at hello@hilltopconcreteco.com or give us a call at 903-630-5465.
.png?width=697&height=597&name=Hilltop%20Logo%20WHITE%20(1).png "Hilltop Logo WHITE (1)")