With every Hilltop Concrete fence, you get the best service and quality available on the market today. Before your project begins, we help you with determining the right project specifications. This includes the total linear feet needed, the height of desired fence, the type of product to be used, and finalizing color choices. Rest assured that our team will be available to guide you through this critical step and get your order processed and shipped to your site. Once the basic decisions have been made and your color has been selected, we begin the process of installing your beautiful new concrete fence onto your property.
Before any work is performed, we always call the appropriate authorities to locate any potential underground utilities that may interfere with the fence line. Additionally, underbrush or high grass should be cleared from the fence line and the final grade should be established. The fence line will be laid out by our experienced crew using marks every 5 feet for the pier for the StackedStone, OldBrick, ChiselStone, and WoodCast systems, or 8 feet on center for the RanchRail system. Each pier should be drilled to an approximate depth of 54” to 66” depending on the height with a diameter of 12” or 18” depending on whether it is an end post or line post. However, every project is different and these dimensions may need to be altered due to height, soil conditions, or site conditions.
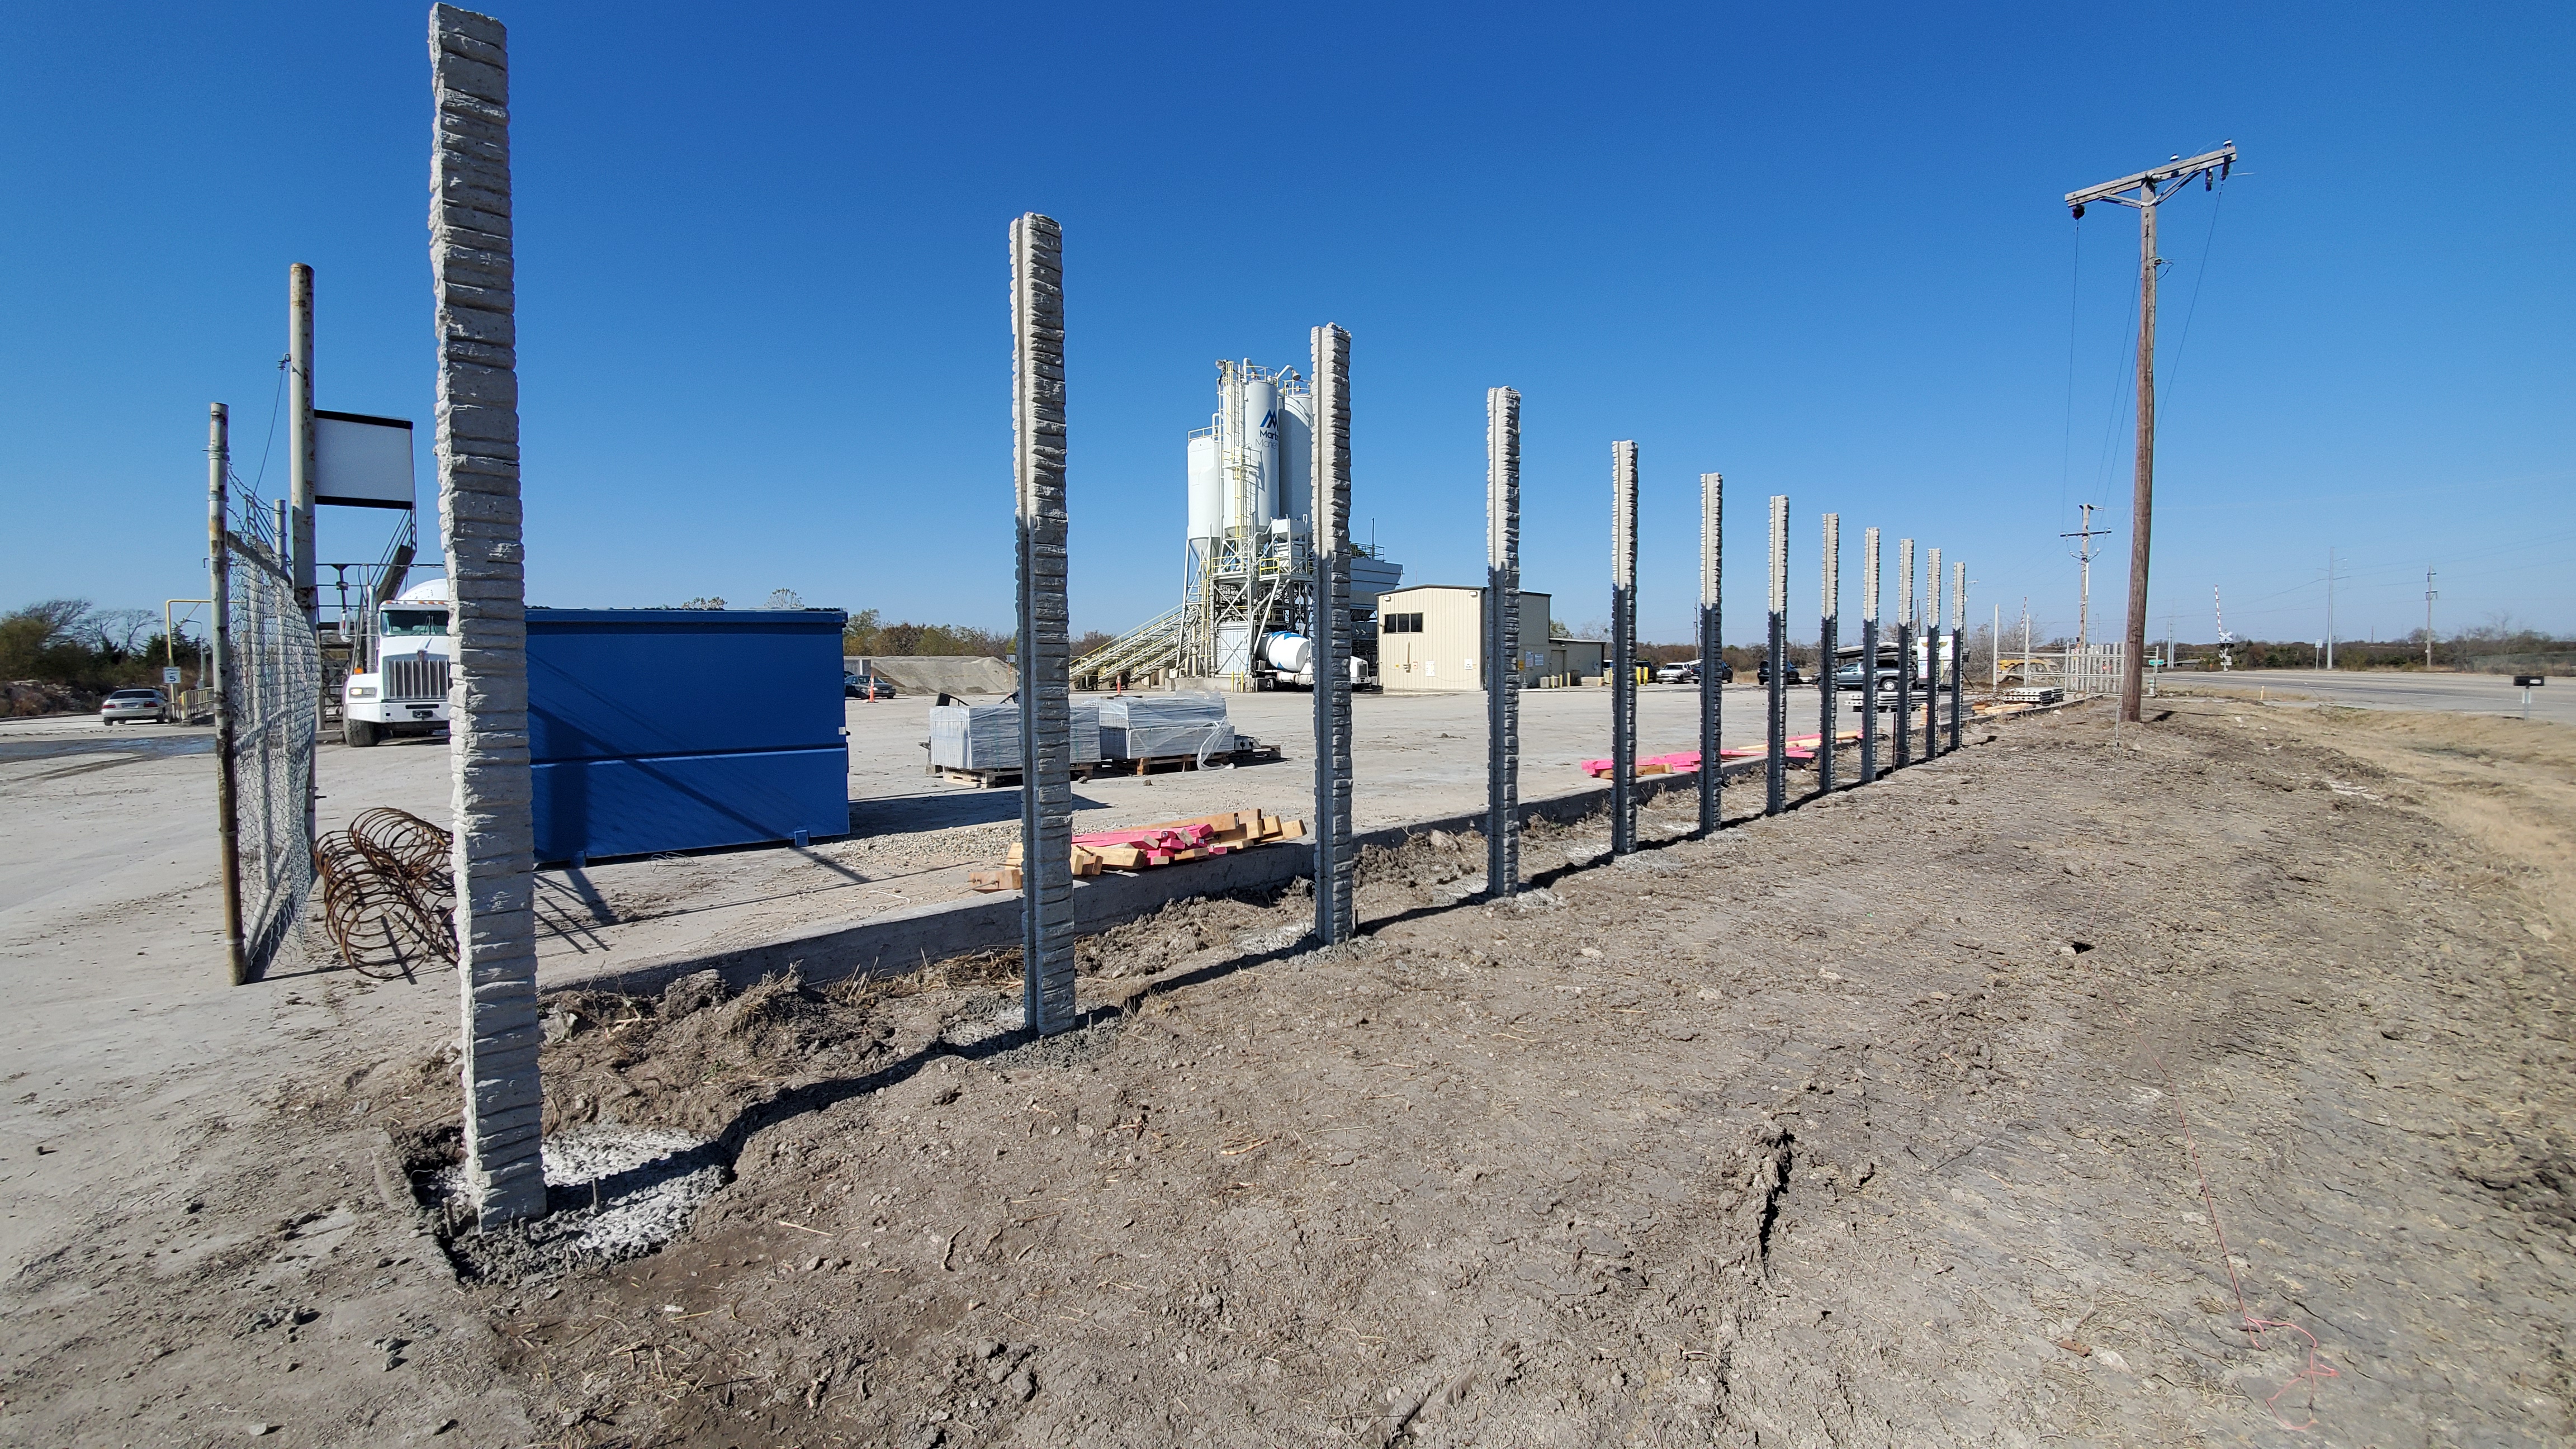
Once the piers are drilled, we insert rebar support cages into the end posts for additional support. For a standard fence system, we designate the end posts as the first 3 posts and final 3 posts of a line. Each post will then be floated above the drilled pier using a form clamp. The crew will check that each posts is plum and in line with the fence line. Then we pour enough 3,000 PSI concrete in the pier to give the post a solid base. We insert the post a minimum of 18”-24” into the pier. We allow the piers to begin curing before continuing with the installation. Before the concrete cures, an outdoor grade PVC spacer should be embedded into the footing and filled with concrete. The PCV spacer will provide support for the bottom panel and allow for adequate spacing below the concrete fence for drainage. After the posts have had time to set, we begin inserting panels. Each post has a channel into which we slide the panels; as each panel is inserted, the height of the fence builds. Each panel should slide down smoothly, stacking on top of the panel below it. The panel caps and post caps are then glued in with a polyurethane construction sealant. The crew will then go through and check each section to confirm it is level. Once the panel caps are placed, placing the post cap “locks” the fence into place.
The final touch we can put on a fence is the paint. With the outdoor environment, the paint we use needs to last as long as your fence. We prefer to use exterior acrylic latex paint that comes in a variety of colors to suit your project needs. At Hilltop Concrete we are happy to install every one of our concrete fence systems but we are just as happy to help someone install themselves. We provide a comprehensive installation guide with each purchase of material and we are happy to answer any questions during the installation process as well. As a premier concrete fence contractor, Hilltop Concrete’s customer service is the biggest priority with every project. Call us at 903-630-5465 or email hello@hilltopconcreteco.com today to see how we can help you get the concrete fence of your dreams.
.png?width=697&height=597&name=Hilltop%20Logo%20WHITE%20(1).png "Hilltop Logo WHITE (1)")